
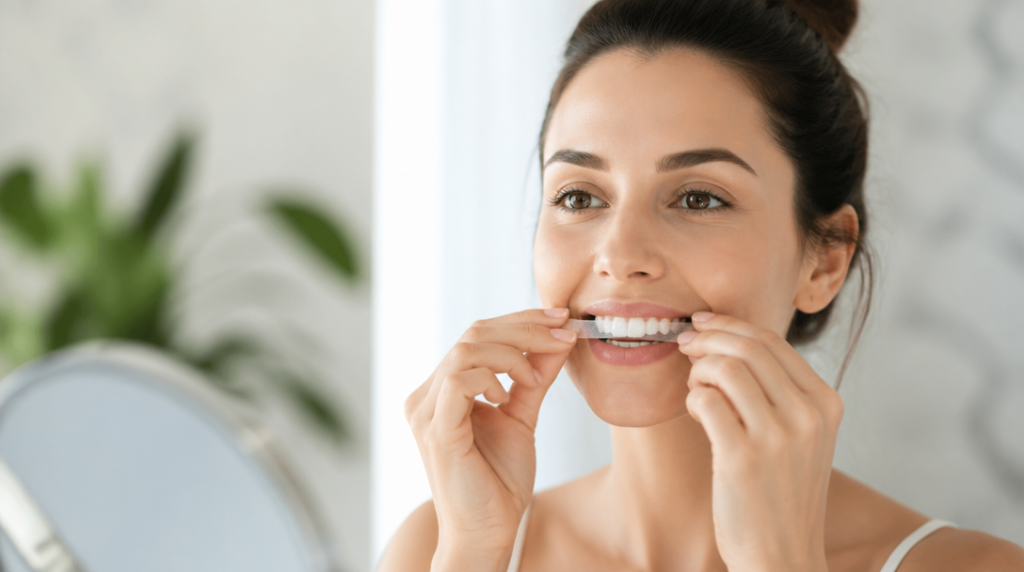
Why Whitening Strips Slip and How to Stop It
Why Whitening Strips Adhesion Fails — and How to Fix It Before Your Next Session Whitening strips adhesion is the single most overlooked reason consumers feel let down by an otherwise capable product. The active ingredient — hydrogen peroxide or carbamide peroxide — only works while it stays in intimate contact with enamel. Every millimeter … Read more
Why Whitening Strips Adhesion Fails — and How to Fix It Before Your Next Session
Whitening strips adhesion is the single most overlooked reason consumers feel let down by an otherwise capable product. The active ingredient — hydrogen peroxide or carbamide peroxide — only works while it stays in intimate contact with enamel. Every millimeter a strip lifts away from the tooth surface is a millimeter where peroxide diffuses into saliva instead of penetrating your enamel rods.
The chemistry is time-dependent. Peroxide breaks down chromogens — the pigmented molecules responsible for staining — through a gradual diffusion process that requires the full wear window. If a strip is engineered for 30 minutes of contact and it floats free during the final third of that window, you have effectively administered a partial dose without realizing it.
Home strips are already modest performers. Clinical literature consistently reports that over-the-counter whitening lightens teeth by roughly a shade or two — meaningful, but not dramatic. When you lose contact time on top of that ceiling, the difference between a noticeable result and visible disappointment comes down purely to whether the strip stayed put.
The frustrating part is that most users blame the formula. In reality, the gel may be perfectly potent — it simply never stayed where it needed to be long enough to do its job.
The Biology Working Against Whitening Strips Adhesion
Whitening strips adhesion is fundamentally a battle against your own mouth’s wet, dynamic environment. The moment you apply a strip, three biological factors begin undermining the bond: saliva flow, the salivary pellicle, and oral pH.
Saliva is the obvious antagonist. A strip’s gel needs to wet out against enamel to form a thin adhesive seal, but a constant film of saliva creates a slip layer between the gel and the tooth surface. Dental clinicians who have written candidly about strip use point repeatedly to excess saliva as a leading cause of movement — the strip is essentially trying to adhere to a moving liquid rather than a solid surface.
The salivary pellicle adds a second variable. This thin protein layer coats your enamel within minutes of brushing and serves a protective biological function, but it also changes the surface energy of the tooth. A heavily glycoprotein-coated surface behaves differently from clean enamel, and that difference directly influences how aggressively a tacky gel can grip.
Oral pH is the subtler factor. In vitro research comparing over-the-counter strips has examined pH alongside color change and peroxide penetration, because the gel’s chemistry interacts with the surface it sits on. A more acidic oral environment — common after eating or drinking — can alter how the gel behaves at the enamel interface during wear.
The practical takeaway: adhesion is not a fixed property of the strip. It is a negotiation between the product and a constantly shifting biological surface, which is exactly why timing your application matters as much as the product you choose.
How Tooth Shape and Crowding Undermine Even Premium Strips

A whitening strip is a flat, flexible film being asked to conform to a row of curved, three-dimensional teeth. That geometric mismatch is where many premium products fail, regardless of gel potency.
Teeth are convex. They bulge at the facial midpoint and curve away at the margins, which means a flat strip naturally tents over the high point and lifts at the edges. On a well-aligned arch this is manageable; in real mouths it rarely is. Rotated incisors, overlapping laterals, or a prominent canine create surfaces the strip cannot drape across without forming air pockets that eliminate peroxide contact entirely.
Crowding is the worst offender. Where two teeth overlap, the strip bridges the gap rather than sinking into it. The peroxide gel never contacts the recessed portion of the overlapped tooth — which explains why people with crowding so often report uneven results, with bright labial surfaces and persistent shadow between teeth.

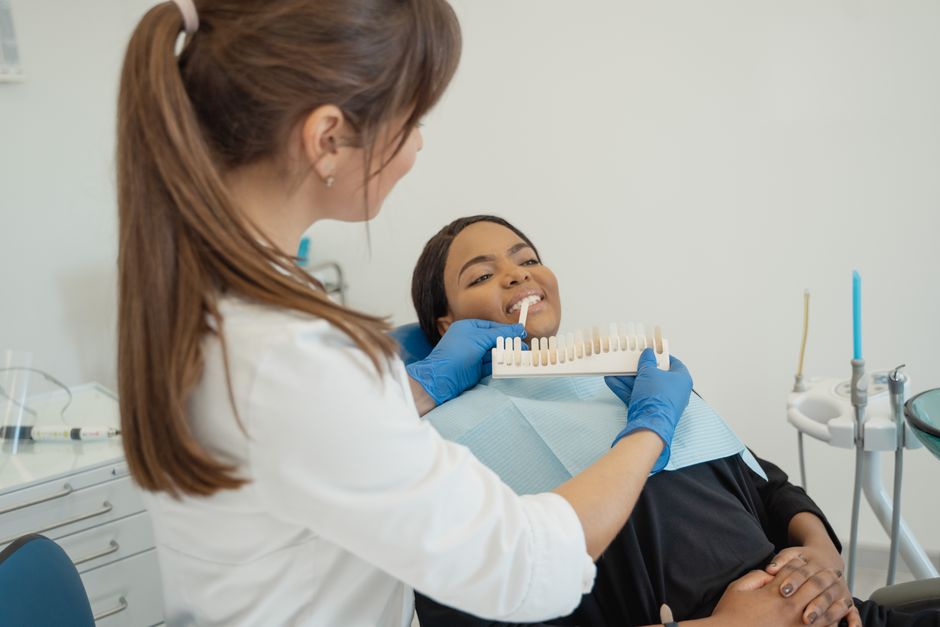
Photo by Roman Muntean on Pexels
There is also a vertical dimension to consider. Strips are sized for an average tooth height, but short teeth or a high gumline can cause the strip to ride up onto soft tissue. That outcome is doubly costly: you lose enamel contact and increase the risk of gingival irritation, which clinical reports already list among the most common side effects of strip whitening.
Recognizing your own anatomy is half the battle. If you have visible crowding or notably curved teeth, plan your whitening routine around those limitations rather than fighting them.
Application Mistakes That Quietly Break the Peroxide Seal
Most adhesion failures are not product defects — they are application errors that occur in the first 60 seconds and compound silently for the entire wear time. Nothing dramatic happens; the strip simply loses its grip, and the user never connects the technique to the disappointing result.
Over-positioning toward the gumline is the first common error. Many users press the strip upward until it contacts the gums, assuming more coverage means more whitening. In practice, gum tissue is wet, mobile, and offers no adhesion. The strip’s upper edge peels downward from the tissue, and as it peels it pulls the enamel seal with it.
Skipping the press-and-mold step is the second. The gel must be physically worked into tooth contours. Applying the strip and immediately closing your mouth traps air underneath. Pressing firmly along each tooth and folding any overhang behind the biting edge takes under 30 seconds and dramatically extends how long the seal holds.
Disturbing the strip during wear is the third and most common error. Talking, smiling, and especially drinking all flood the area with saliva and mechanically tug at the strip. Dental guidance is direct on this point: minimize mouth movement and avoid disturbing the application while it works.
A fourth, subtler error is applying strips to freshly rinsed or still-wet teeth. Water and toothpaste residue both interfere with direct gel-to-enamel contact. The strip may feel stuck initially, then drift within minutes as that moisture layer breaks down the bond.
Pre-Application Prep That Locks In Strip Contact
The strongest improvement to whitening strips adhesion costs nothing — it is a preparation routine that controls the biological variables described above. Done consistently, it can determine whether a strip drifts within minutes or locks in for the full treatment window.
Start by drying the teeth deliberately. After your oral hygiene routine, wait several minutes, then gently blot the front surfaces with a clean tissue or gauze immediately before application. A dry enamel surface gives the gel something to grip; dental clinicians specifically cite dry teeth as one of the most effective ways to reduce strip movement.
Time your application relative to eating and brushing. Avoid applying strips immediately after acidic foods or drinks, since an acidic surface changes how the gel interacts with enamel. If you brush first, do so gently and allow time to elapse before applying — peer-reviewed reviews note that aggressive or prolonged whitening can raise demineralization risk, and the surface should not already be compromised when you introduce peroxide.
Use deliberate placement technique: position the strip slightly below the actual gumline rather than flush against it, press firmly along the full arch, mold around each individual tooth, and fold any overhang behind the biting edge. Then stay relatively still for the duration — limit talking and avoid all liquids.
Respect the timing on the package. Leaving strips on longer to amplify results is counterproductive. Peer-reviewed research links correct use and timing directly to both tolerability and retention outcomes, and the FDA’s cosmetic guidance is explicit that consumers should follow directions and avoid unsafe use. Extended wear produces more irritation, not more whitening.
Strip Formulation Differences: Gel Tackiness, Backing, and Fit
Not all strips are engineered the same, and the design differences directly govern how well they stay put. Three variables determine the result: gel tackiness, backing material, and fit profile.
Gel tackiness is the adhesive character of the peroxide layer itself. Stickier gels grip better and resist saliva intrusion, but they can also transfer more active ingredient to soft tissue if positioned imprecisely. In vitro comparisons of over-the-counter strips have evaluated peroxide penetration and surface effects across brands, confirming that gel chemistry varies meaningfully between products — it is not a commodity formulation.
Backing material determines how the strip behaves after application. A thin, conformable backing molds to tooth curvature and resists tenting at the margins. A stiffer backing holds its shape but lifts more readily as the teeth curve away. Premium strips typically use thinner, more flexible films precisely to solve the convex-tooth problem.
Fit profile covers length, width, and arch specificity. A strip too wide rides onto gingival tissue; one too short leaves enamel edges uncovered and unwhitened. Some product lines offer different formats and wear times to address this, and matching the physical dimensions to your actual arch geometry often matters more than choosing the highest peroxide concentration available.
Weigh these three factors together when evaluating any product. A high-peroxide gel on a stiff backing that will not conform to crowded incisors will consistently underperform a moderate gel on a flexible backing that actually seals against the tooth surface. For a broader look at how peroxide concentration compares across teeth whitening products, the formulation differences extend well beyond strips.
Troubleshooting: Match the Right Strip Strategy to Your Mouth
Use the specific symptoms you experience during wear to diagnose the root cause and adjust your approach accordingly.
- If strips slide down within minutes: the problem is almost always moisture. Dry the enamel thoroughly before application, position the strip slightly below the gumline rather than against it, and select a product with higher gel tackiness. Limit mouth movement for the first few minutes while the initial seal sets.
- If results are uneven between front surfaces and tooth edges: the problem is anatomy. Crowded or rotated teeth require a thin, conformable backing, and you may need to press the strip manually into recessed surfaces. Severely overlapped areas may simply require professional in-office treatment to reach — flat strips have a geometric limit.
- If the strip bunches or wrinkles: it is too wide for your arch. Switch to a strip sized for shorter teeth, or trim conservatively along the bottom edge before application, then fold any remaining overhang behind the biting edge rather than letting it bunch at the front surface.
- If you experience gum irritation or sensitivity: you are likely over-positioning toward soft tissue or exceeding the recommended wear time. Reposition the strip slightly away from the gumline and respect the package instructions. Sensitivity and gingival irritation are the most frequently reported side effects of strip whitening — this is feedback to act on, not a rare outlier. A sensitive teeth care routine using a desensitizing toothpaste between sessions can reduce discomfort substantially.
- If nothing seems to whiten at all: verify that genuine contact is being achieved. A strip that appears to “stay on” but tents over the facial high points is still not delivering peroxide to those surfaces. Re-press the strip at the five-minute mark, mold it firmly around each tooth, and ensure you are not speaking or moving the lips during wear.
One final note on realistic expectations: peer-reviewed research confirms that hydrogen peroxide from whitening products does penetrate tooth structure, which is what makes the chemistry work — but it also means the gel must maintain unbroken contact to deliver its effect where it is needed. Adhesion is not a secondary concern; it is the mechanism. Everything else — concentration, wear time, brand — is secondary to whether the strip stays where you put it.
For readers managing both whitening goals and ongoing sensitivity, reviewing oral health guides on enamel protection can help you build a routine that supports both without compromising either.
References
- Almahdy A, et al. Effect of Three Different Whitening Strips on Dental Sensitivity, Oral Tissues, Tooth Color and Luster: A Double-Blinded Randomized Controlled Clinical Study. Genesis Publications. Available at: https://www.genesispub.org/acmr/effect-of-three-different-whitening-strips-on-dental-sensitivity-oral-tissues-tooth-color-and-luster-a-double-blinded-randomized-controlled-clinical-study
- Carey CM. Tooth Whitening: What We Now Know. Journal of Evidence-Based Dental Practice. PubMed Central. Available at: https://pmc.ncbi.nlm.nih.gov/articles/PMC4058574/
- Research summary on hydrogen peroxide and dentin protein effects. Academy for Dental Assistants. Available at: https://academy4da.com/whitening-strips-could-be-doing-serious-damage-to-your-teeth/
- Over-the-counter whitening strips: Evaluation of color change and related parameters. Journal of Dentistry. ScienceDirect. Available at: https://www.sciencedirect.com/science/article/pii/S0300571226002174
- U.S. Food and Drug Administration. Teeth Whitening Products. FDA Cosmetics Guidance. Available at: https://www.fda.gov/cosmetics/cosmetic-products/teeth-whitening-products
Disclaimer
This article is for informational purposes only. LLRNCARE makes no representations or warranties about the completeness, accuracy, reliability of the information. Any reliance is at your own risk.
For professional dental advice, consult a qualified dental professional. For regulatory compliance, consult legal experts.
—